STUDENT WORK

3D Printing
The Original IDEAS curriculum, well-suited for middle school-aged students, introduces kids to 3D printing through kinesthetic layering activities that builds understanding about how 3D printing works. Starting with Play-Doh, moving on to cutting layers of foam or cardboard, and ending with layering hot glue, students eventually use software called Tinkercad to design, and then print, 3D objects, taking into account surface area, object orientation, and overhang.

Making a layered Play-Doh creation, and then trying to recreate it out of hot glue, is more challenging than one would think. The goal of this kinesthetic activity, regardless of the degree of “success” of the glue version, is to help students internalize the concept that 3D objects are replicated by a printer by layering melted filament in the code that comes from a digital design.
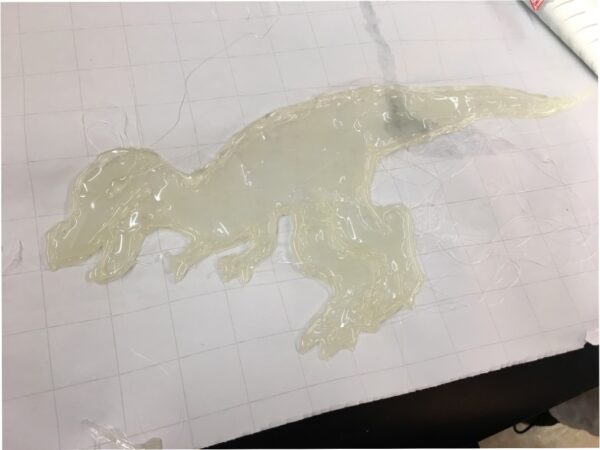
A T-rex made out of hot glue. Who would have thought? Students allow each layer to dry a bit before applying the next one.
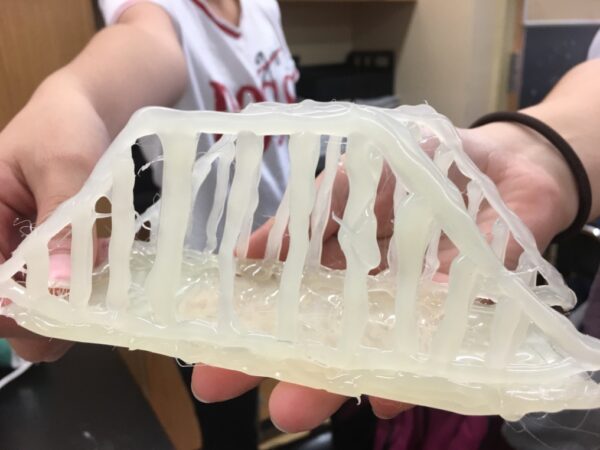
The base and the 2 sides of this complex hot glue layering project were made individually and then assembled.
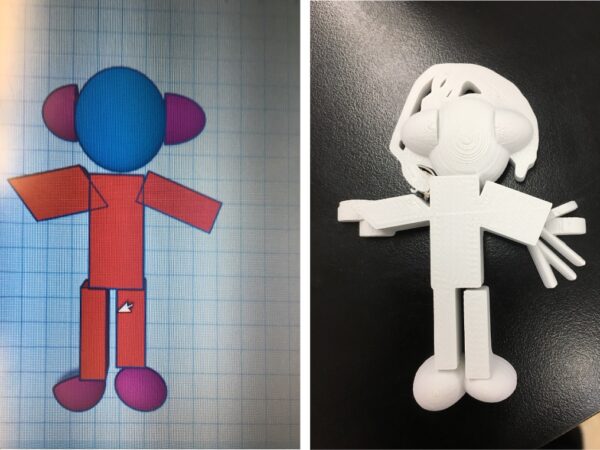
Not sure where to start? Go back to the basics and imagine the individual shapes that make up a figure or object. The maker found success by doing just that and discovering along the way that a figure’s leg can attach to a body by connecting the feet.
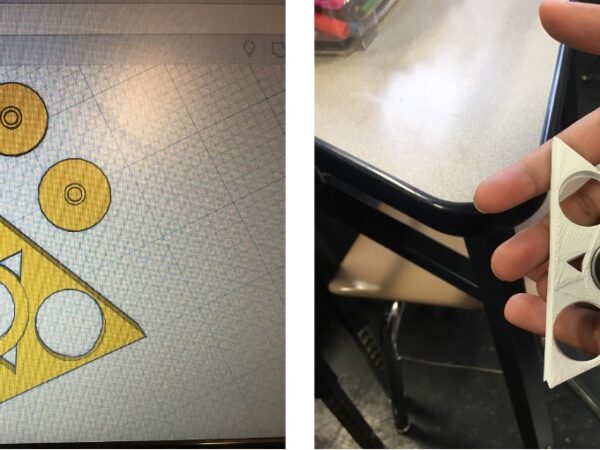
Design once, print twice. And who says you need to change filament? Paint goes a long way and simplifies the production process.
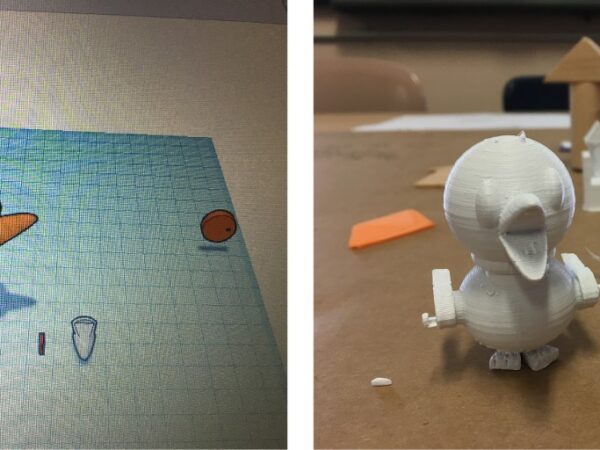
3D design and printing gives makers a way to create that new object for themselves or others. Sometimes you just need a fidget spinner!
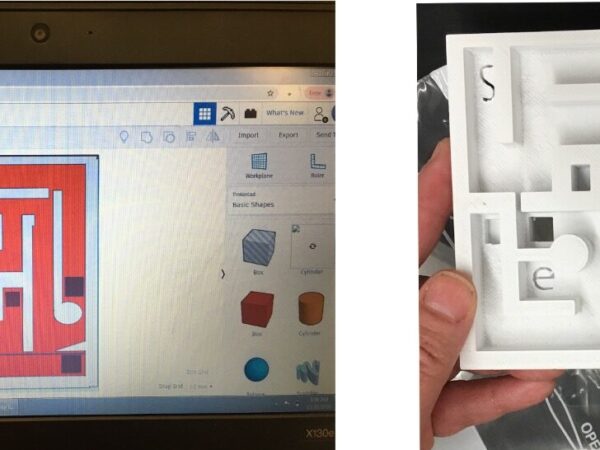
To design a marble maze, this maker had to design for positive and negative space, for scale, and consider the most practical of details as they designed the digital file, like How big should a handheld game be? How big should the marble be? How high should the perimeter wall be to “contain” the marble? How wide do the paths need to be for a marble to move?
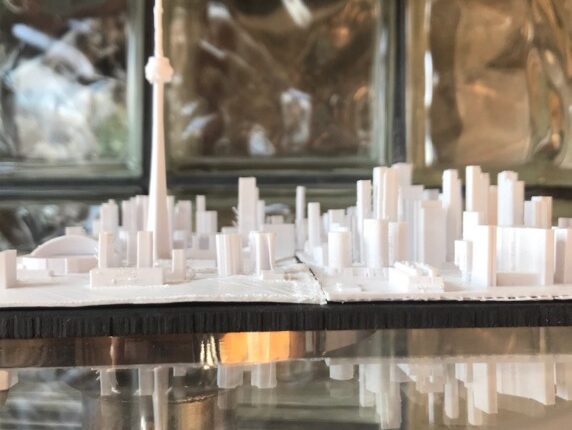
This maker was so inspired and motivated by their experiences at their school maker club that they began 3-D printing at home! The possibilities for fabricating the things AND places one loves are endless, including the unmistakable CN Tower of the Toronto skyline.